
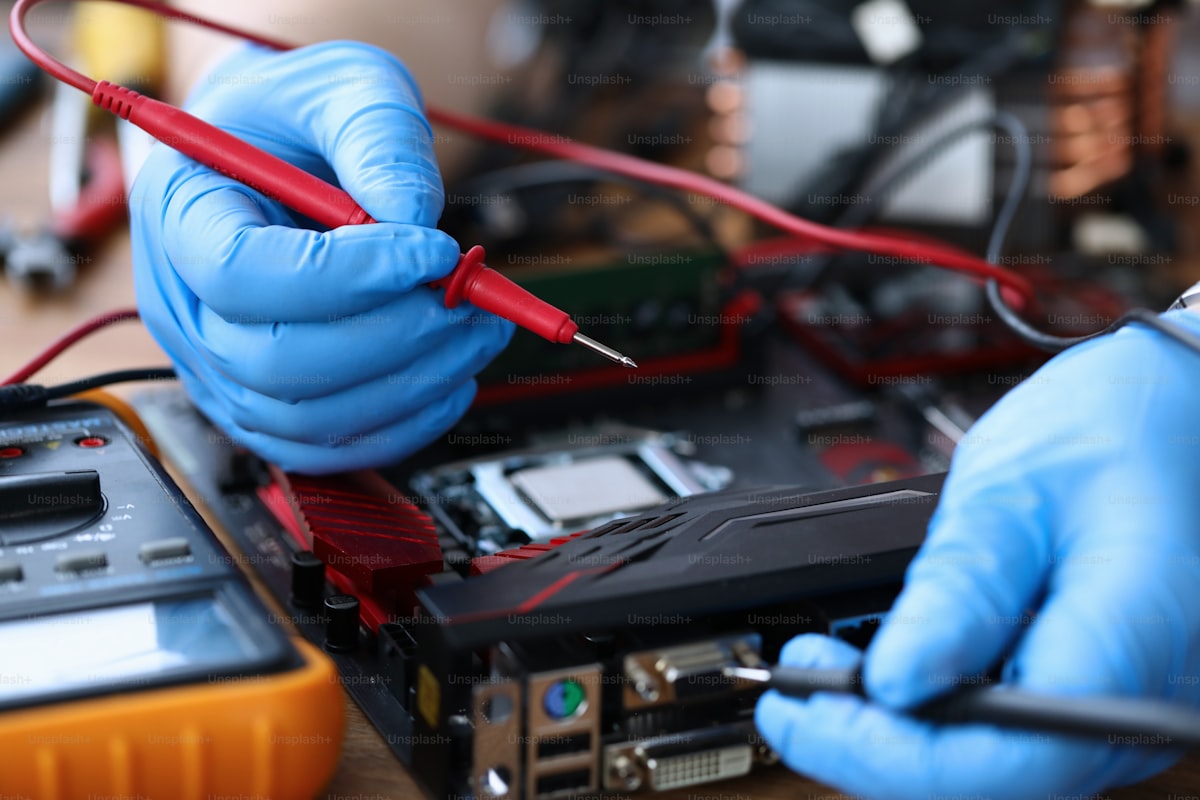
A reliable diagnosis can help you compare repair options and avoid replacing a complete display assembly unnecessarily. Use these four checks to understand the process before authorizing work.
Backlight failure or damaged display panel?
These faults can look similar at first. Ask the repair shop to demonstrate which component is actually at fault before agreeing to a replacement.
LED Backlight Burnout
Sound may continue while the screen looks completely dark. A flashlight test that reveals a faint picture can suggest failed backlight illumination, although further tests are needed to confirm the diagnosis.
Glass or Display Matrix Damage
Cracks, ink-like patches, or persistent colored lines can indicate a damaged panel or display circuitry. Ask for a written assessment because full panel replacement may be expensive.
Board-level repair vs. full board replacement
TVs may use a power supply, main board, and timing controller (T-Con), although designs differ by model. A specialist should identify the faulty section with appropriate equipment.
Power supply (SMPS) checks
No standby power or repeated clicking can have several causes. A qualified technician may test capacitors, diodes and supply rails to decide whether component repair is practical.
T-Con and display-signal checks
Double images, unusual colors, or white-screen symptoms can involve timing circuitry, ribbon connections, or the panel itself. Diagnosis should come before replacement.
Compare repair options
Request the diagnosis, proposed parts, total cost, and written warranty conditions before choosing component-level work or a replacement module.
Protect the screen during transport
If workshop inspection is necessary, document the TV’s condition and confirm how it will be handled and moved.
Protective packing and secure movement
Ask for a suitable padded enclosure or original packaging. Follow the manufacturer’s handling advice and secure the screen so it cannot flex or move in transit.
Photograph the TV before handover
Record the screen, frame, model and serial number. Get a written intake receipt describing any pre-existing scratches or damage.
Final display-quality checklist
Review the work together when the television is returned and keep a copy of the service documentation.
- 01Display white and grey test images to look for uneven brightness, dark patches, or new visual defects.
- 02Check for bright circles or irregular light spots that may indicate diffuser or backlight assembly problems.
- 03Test HDMI input, speakers, remote response and the repaired features after reassembly.
- 04Confirm the replacement parts and collect an itemized invoice with the written warranty terms.